GLASS STAIN REMOVAL
STEP 1: EVALUATE
The stain thickness is
evaluated to determine the severity of the staining and the expected
outcome result. The stained area is measured in square feet or square
inches to determine the material use and the time of the job. Stained
Glass is categorized in the following levels of severity:
LIGHT
The stain is not thick enough to obscure vision. Can be restored with no distortion and minimal abrasive steps.
MEDIUM
The stain is a thicker layer than
Light and the stain drops overlap to obscure safe driving vision. The
stain can be removed with multiple steps with no distortion.
DEEP
The stain is thick and widely
overlapping. It appears like dried soap suds. Deep Staining requires
multiple abrasive and polish steps to remove the stain build up and
restore to clarity. The stain is white in color and widespread.
SEVERE
The stain is etched into the glass
deeper than 3/100th of an inch and visible distortion will occur by
removing the stains to the bottom of the etching.
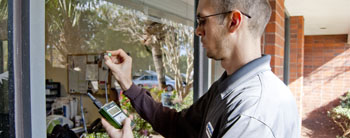
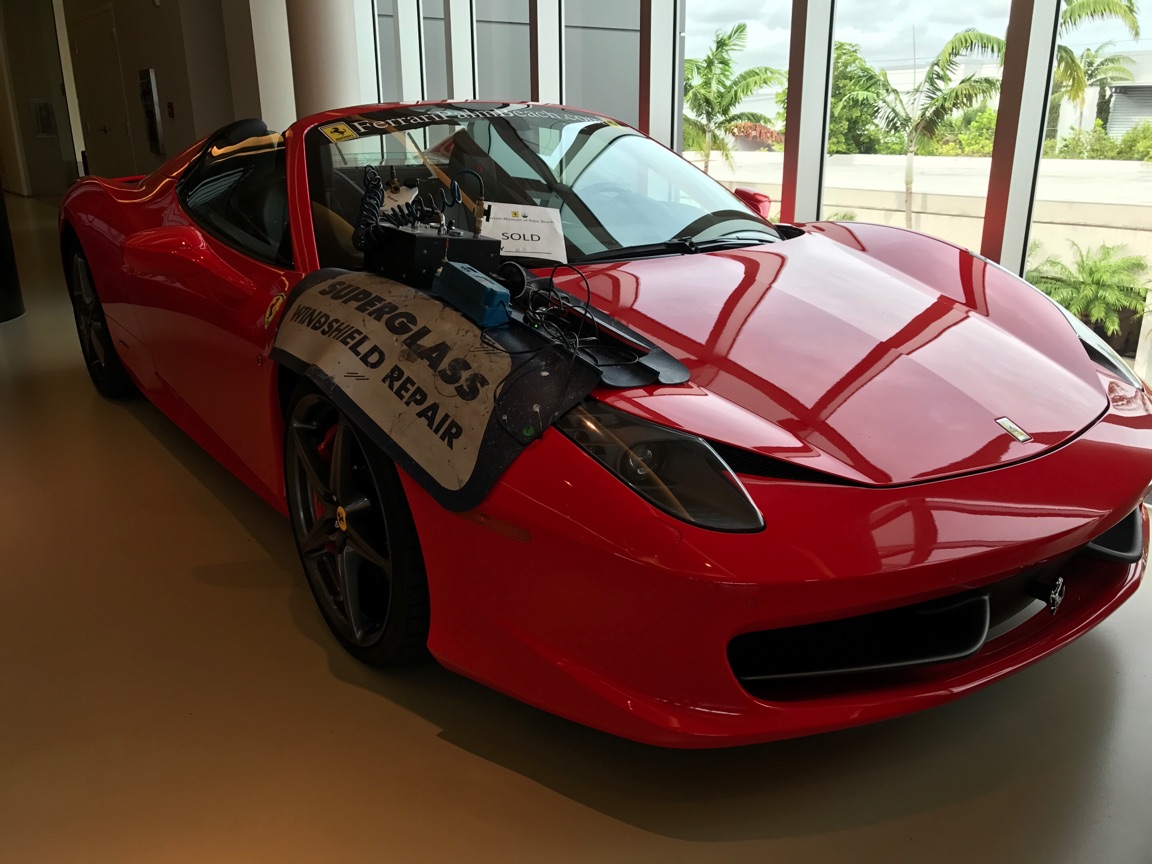
STEP 2: EVALUATE THICKNESS & AREA
The
stain thickness is measured to determine the abrasive steps that are
needed to removed the buildup without creating distortion. The stain
area is measured to determine the time spent using each abrasive step
and estimate the total time of the job. The thickness of the glass can
be measured throughout the process using an Ultrasonic Instrument.
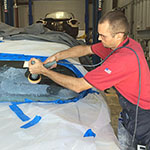
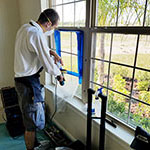
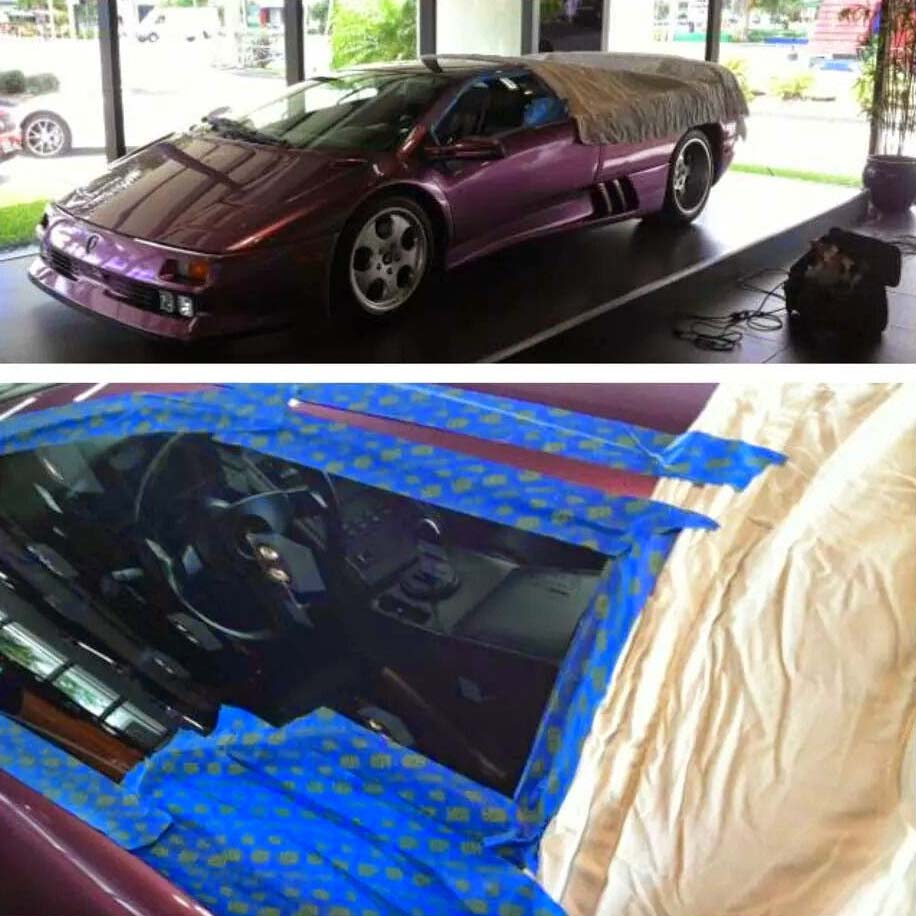
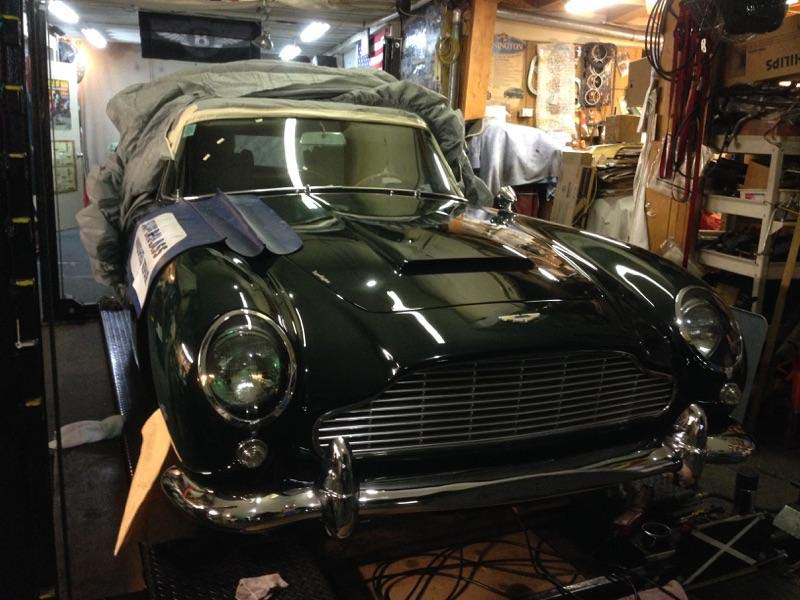
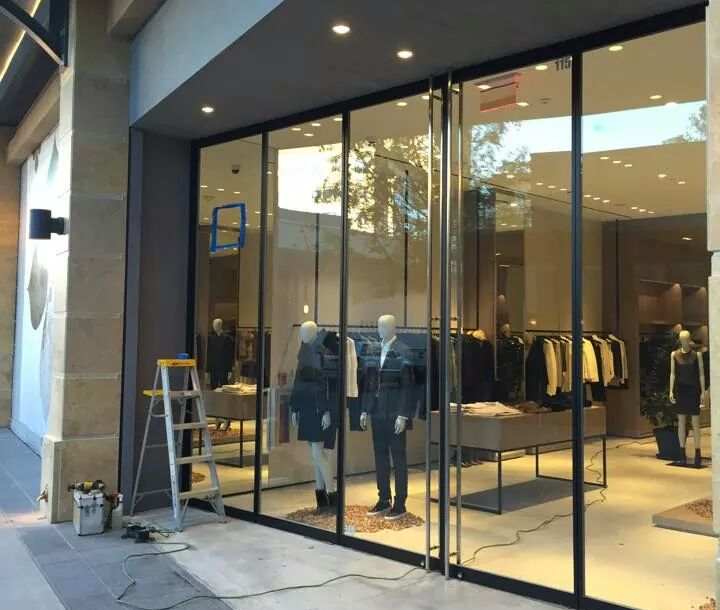
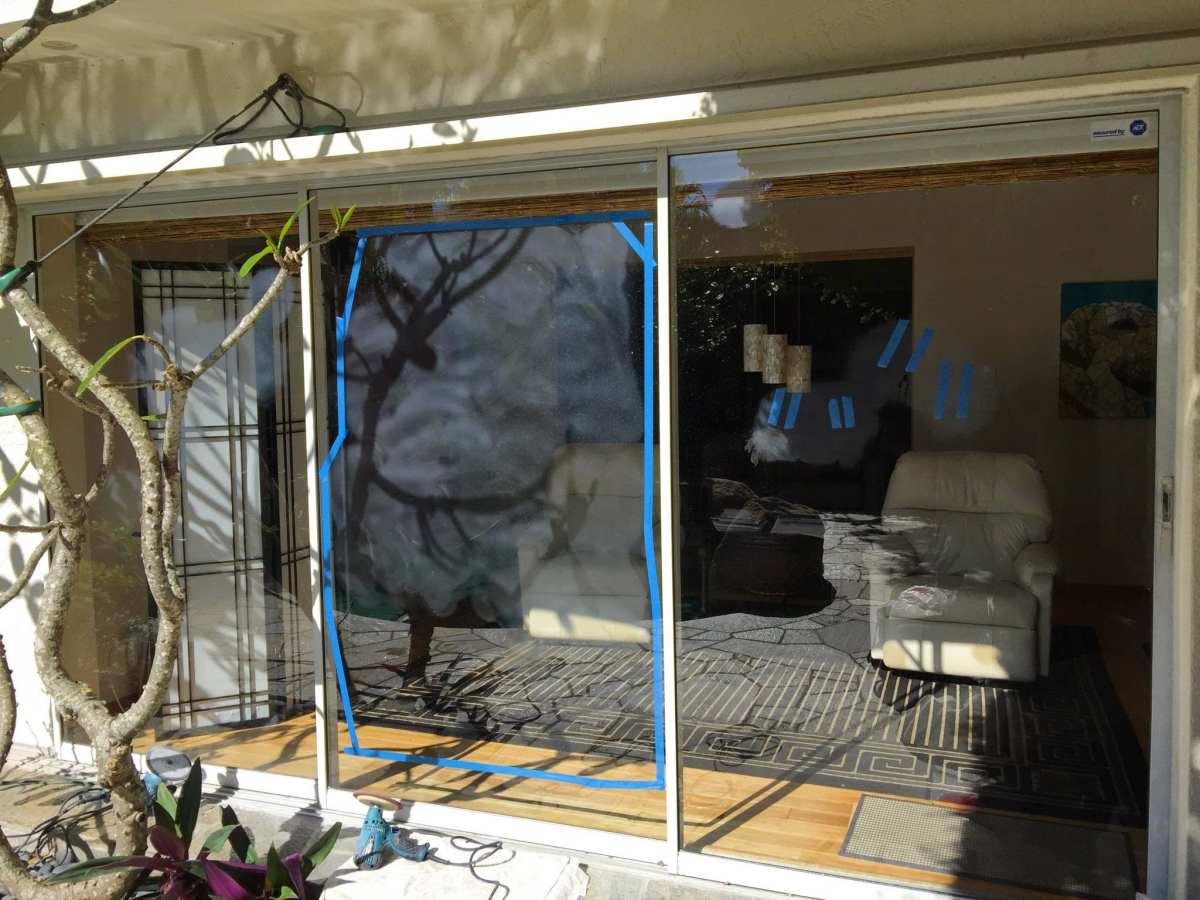
STEP 3: MASK & PROTECT
The work area
is completely covered with painter’s mask, plastic on the bottom and
absorbent on the top, and taped into place. Carpets, walls and fixtures
will be protected in buildings. Vehicles are masked to protect the paint
from any overspray.
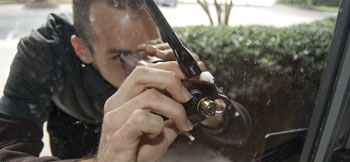
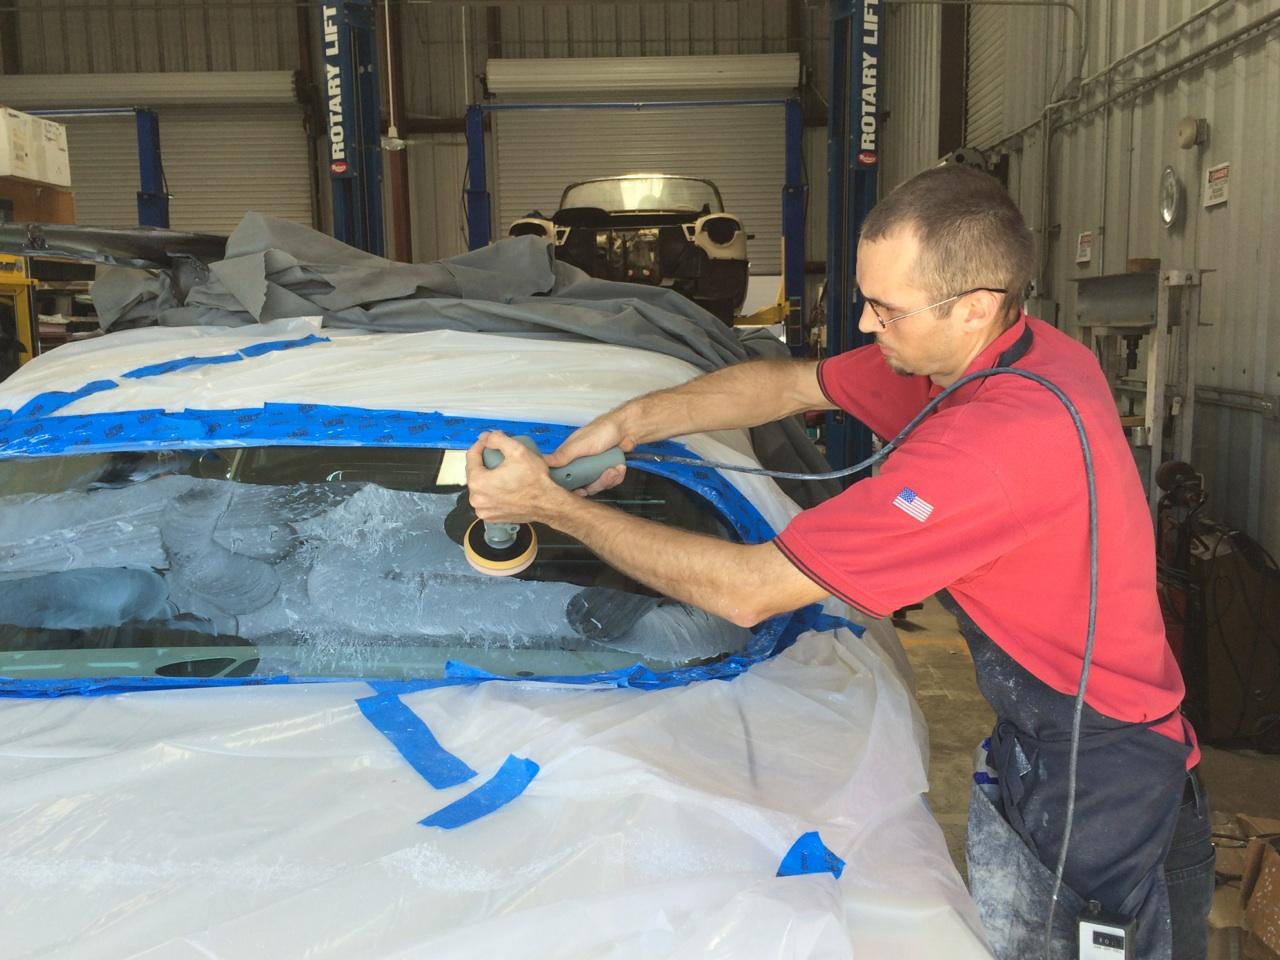
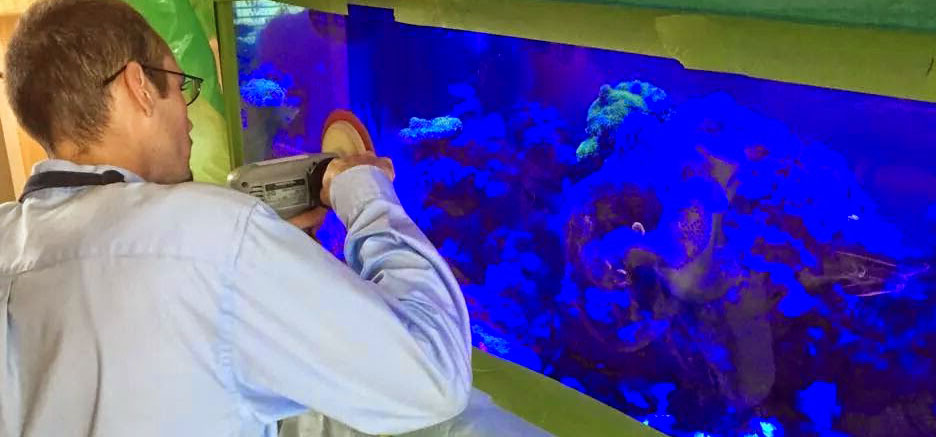
STEP 4: REMOVE STAIN
The initial scratch
is removed using the least robust abrasives necessary that remove the
stains in increments of less than 1/10,000th of an inch per application.
When the stain is completely removed, the glass may be opaque and/or
white from the abrasion.
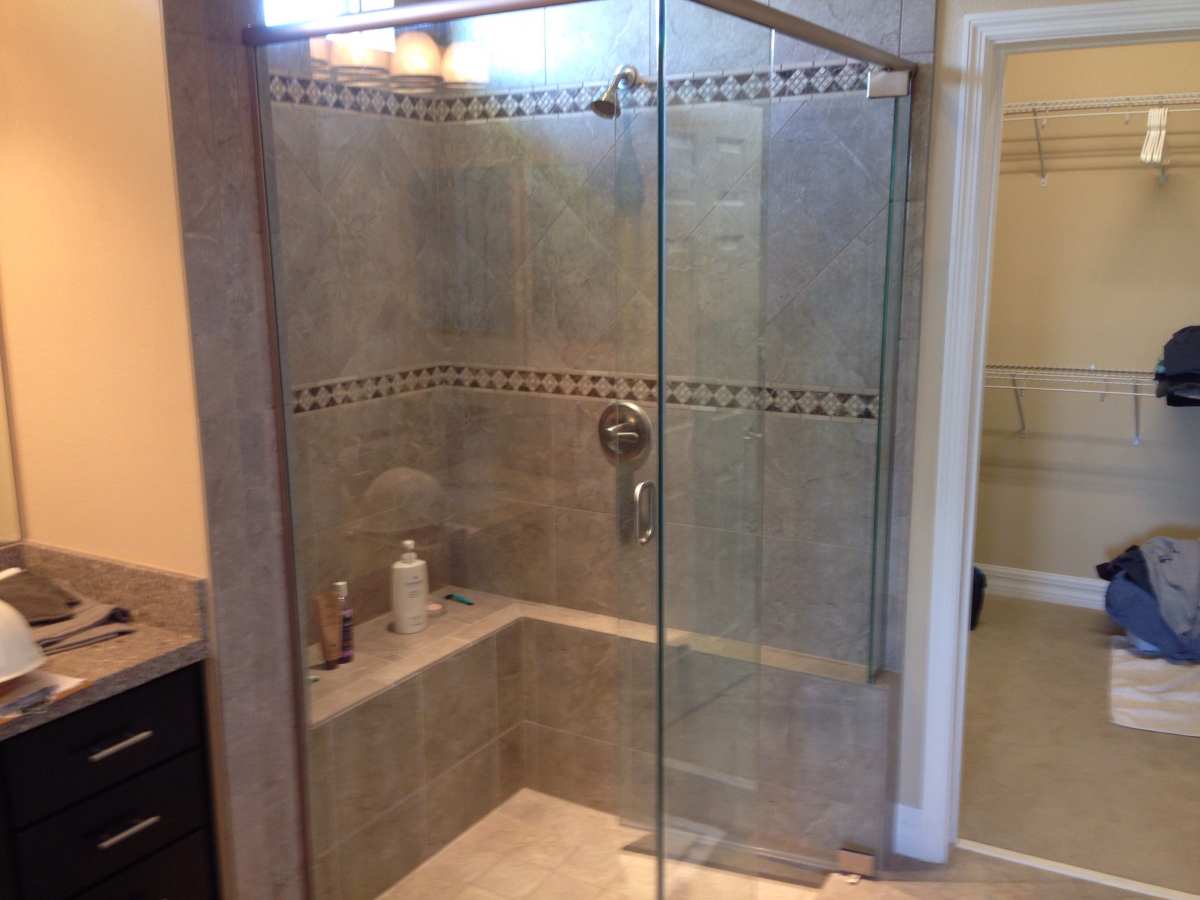
STEP 5: RESTORE CLARITY
Clarity is
restored by applying lesser abrasives in diminishing stages to create a
smoother surface to the glass. As each application of lesser abrasive is
applied, additional clarity is achieved. This process can be from one
to three steps of various abrasives.
STEP 6: RESTORE FINISH
Using foam pads
the final polish is made with a mixture of rare earths and oxides to
remove the residual haze from the abrasives and restore the like-new
clarity of the glass.
STEP 7: CLEAN
All masking materials, tape
and debris is collected in waterproof containers and removed from the
site. All polish residue is wiped clean. There is no trace of work being
done in the area.